The seat is important, versatile, changeable, and crucial in riding. It can be stable or flexible, secure or shaky, stiff or springy, harmonious or counterproductive. But one thing is true in any case: It is very difficult to learn! The rider’s seat has an incredible number of facets and we riders often work on it our whole life. In this guide, we have summarized everything you need to know about the rider’s seat and influence! Spoiler alert: It’s worth sticking with it because we’ve put together ten exercises for the rider’s seat that you can try out the next time you’re in the saddle.
Table of Contents
- What should the riding seat look like and how do I improve it?
- No matter how well you are riding, the seat can always be improved
- Core muscles help create a good riding seat
- From sitting to responding
- Every movement has an impact on your riding seat
- Impact error: buckling in the hips
- Effective aids through the conscious use of the seat
- 10 riding seat exercises that you can do today
- Train rhythm, coordination, and independence of the reins
- Turn your head
- Improve your seat with stirrup length
- Exhale consciously
- Speak numbers on the exhale
- Loosen the pelvis, stabilize the chest
- Sit independently of the hand
- Encourage loose knees
- Improve self-awareness and mobility
- Practice for your riding seat during everyday life

What should the riding seat look like and how do I improve it?
It would be foolish to give a one-size-fits-all answer. No two horses and riders are the same; they differ in age, physique, level of training, and size – and these are just a few factors. Of course, there is an ideal image of the rider’s seat:
“The upper body, primarily resting on the two buttocks, rises vertically from the hips, which are located at the same height above the saddle and must not buckle on one side. The core is tightened moderately. Avoid arching the back (hollow lower back) as it makes the seat stiff.”
Nevertheless, every rider implements the seat differently; it looks a little different for everyone as everyone has different “construction points” – even if those are only nuances. Of course, that’s not a free pass to say “I’m just the way I am and I just sit like this, period.”
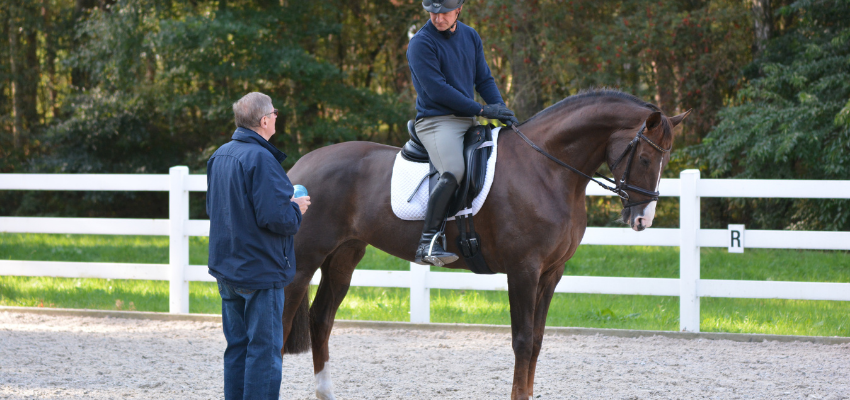
No matter how well you are riding, the seat can always be improved
What rider wouldn’t want to feel completely in tune with their horse who moves effortlessly underneath them? When it comes to warm-up routines though, riders tend to only think about the horse, rarely considering the effect of tightness in their own bodies.
Core muscles help create a good riding seat
Another exciting topic that is directly related to a better rider’s seat is the core muscles; the central muscles in the upper body area. These muscles are important for the correct fit, as well as the thighs.
Every rider is clearer for the horse, riding is easier and more enjoyable, and they simply ride better when they are taught to find the right muscle tone. That’s why it’s so important to learn how to target the right muscles, relax parts and contract parts, and use the sit bones correctly. This is exactly what makes it possible to refine the aids and use them correctly. The good news is: you can learn it! There are teachers who are able to teach exactly what natural talents automatically do right.
Tips for a good riding seat:
- Riding with bridged reins often promotes the independence of the hand
- Regularly incorporate no-stirrups practice into your training
- Remember to breathe deeply
- Try riding bareback more often
- If you have body tension: Yoga, stretching, or fitness at least twice a week to strengthen abdominal and back muscles is a great way to help
- Ride a lot of horses to get more practice
From sitting to responding
If asked, could you answer how exactly your leg and foot act when riding? Where are they moving to? How often do they react and at what moment? And above all, why?
Many riders cannot do that. But, that’s absolutely understandable: when riding we have to concentrate on many things at the same time. Most aids happen in seconds, and it’s often several different aids in a row. That’s why it’s so important to keep reminding yourself of these connections and to be aware that a good rider’s seat doesn’t mean that you have a correct and precise effect.
Every movement has an impact on your riding seat
The famous sentence “A horse can feel when a fly sits on its coat” comes to mind here as it is important to remind yourself of this fact from time to time. Imagine someone sitting on your back. Can’t you almost just imagine how every movement and shift of their weight would be felt? That certain bones might press into your back? How you would stagger when the person suddenly shifts their weight extremely jerkily to one side? How you would notice when they either tense or relax a muscle?
Horses feel it too. For us, this means that we are constantly having an effect on the horse just by sitting on it. It also means that we should be very conscious of all the movements, muscle contractions and relaxations, and weight shifts that we make up there in the saddle. And that we should know how they feel for the horse and what we want to achieve with them.
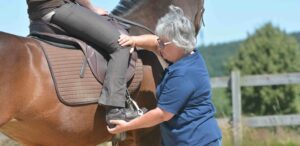
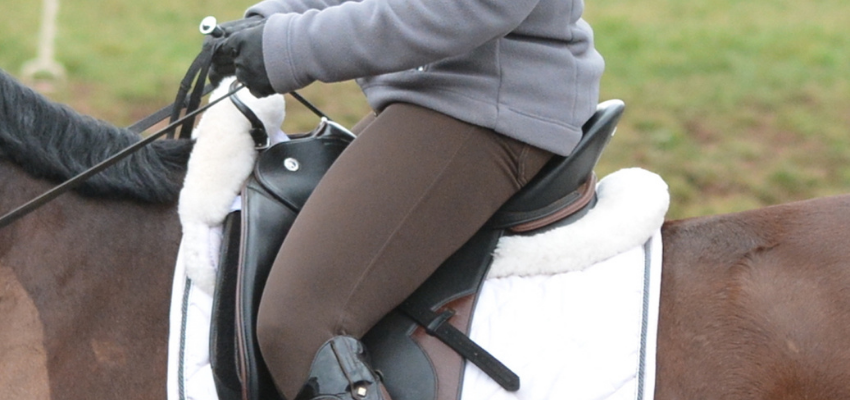
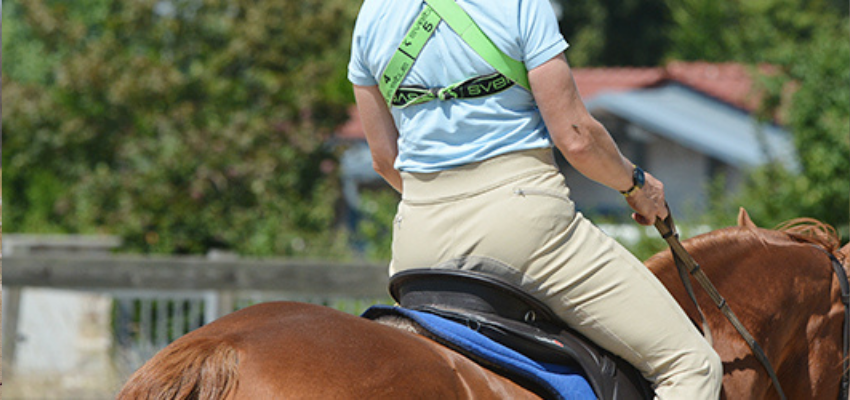
Impact error: buckling in the hips
Horses aren’t the only ones who usually have natural crookedness, it is also common in humans. When riding, this often manifests itself in a buckling of the hips – this can either be very slight or clearly visible. In many cases, the rider’s head is also tilted. You rarely notice this as a rider if you don’t pay attention to it; the posture has usually crept in over a longer period of time and become the “norm.”
By giving in slightly to the crookedness, the rider has a different effect on his horse than they intend. Without knowing it, they put more stress on the horse on the buckled side, making it harder for the horse to lift their legs on that side, for example. A canter can fail, not because of the wrong canter aid, but because of the additional incorrect influence that the rider is not even aware of at the moment.
Tip: just deliberately keeping your head straight can have a big effect!
Effective aids through the conscious use of the seat
It is just as important for a correct seat that no automatisms creep in, which are done again and again purely out of habit, but which may not be suitable at the specific time or with that horse. For example, do you consciously control your leg so that it doesn’t automatically drive with every step the horse takes, but instead only when it’s necessary? Does your hand remain independent so your horse doesn’t get conflicting signals, for example, the forward driving leg at the same time as a backward hand?
10 riding seat exercises you can do today
We have spent a very long time dealing with the topic of why the rider’s seat is so important and to what extent it influences your ride and the use of aids on your horse. Now it’s time to get active and consciously work on a better seat! Therefore, we have selected the 10 best rider seat exercises that deal with different areas of the seat. So, what are you waiting for? Find your favorite exercises and try them out!
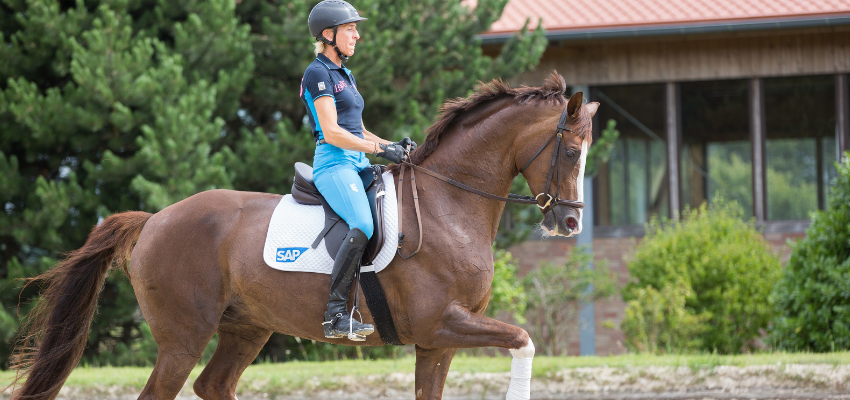
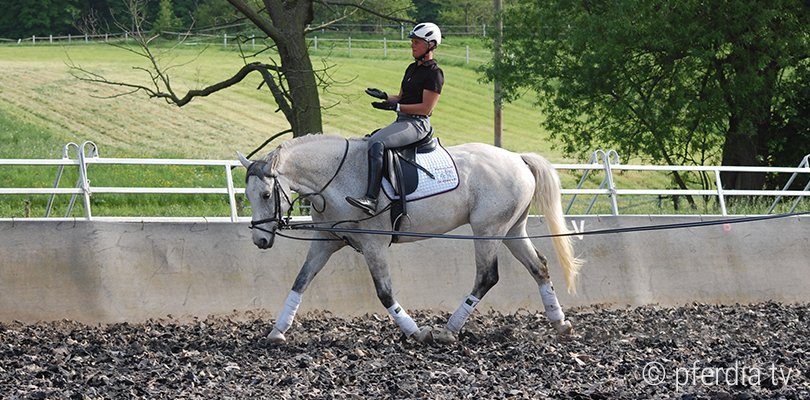
Train rhythm, coordination, and independence of the reins
You need free hands for this exercise so ask that either someone takes you on the lunge line, or if you have a good horse and no one to lunge you, knot the reins and just ride the whole arena.
Begin by trotting lightly and then raise your hands like you’re juggling. Up and down, alternately. Hold your hands flat, fingers together, palms facing up. This exercise trains rhythm, coordination, and independence from the reins, as well as stability of the upper body. Professionals like Uta Gräf do it, as do her riding students.
Turn your head
This exercise is very simple, and effective, and nobody will notice when you do it! Consciously turn your head in all directions. Look around the barn. Consciously raise your chin. Just get some movement happening through your neck to keep you supple instead of stiff.
Improve your seat with stirrup length
Adjust your stirrups several times during a riding session. Varying the stirrup length contributes a lot to a dynamic rider’s seat. The basic rule is: too long stirrups block the hips and cause the rider to sit in a split position, but too short stirrups cause the rider to sit in a chair seat.
Exhale consciously
This also falls under the category: nobody notices, but it helps a lot! Breathe out consciously while riding, because that makes you sit deeper. With the right breathing technique, the rider can improve their positive body tension and even set the pace. Here’s an exercise that will help you learn how to do this: Close your mouth softly and let your lips rest loosely on top of each other. As you exhale, blow the air between those loosely lying lips. Don’t curl your lips into a kissable mouth! Make sure that the tension in the torso is maintained. A Theraband wrapped around your stomach and back also helps you to feel and understand this better.
Speak numbers on the exhale
Practice exhaling again: Use the exhaled air to say numbers. And not gently, but jagged, so that the body tension is right. You start at twelve, so “twelve-thirteen-fourteen” and so on. This helps to practice connecting with your core.
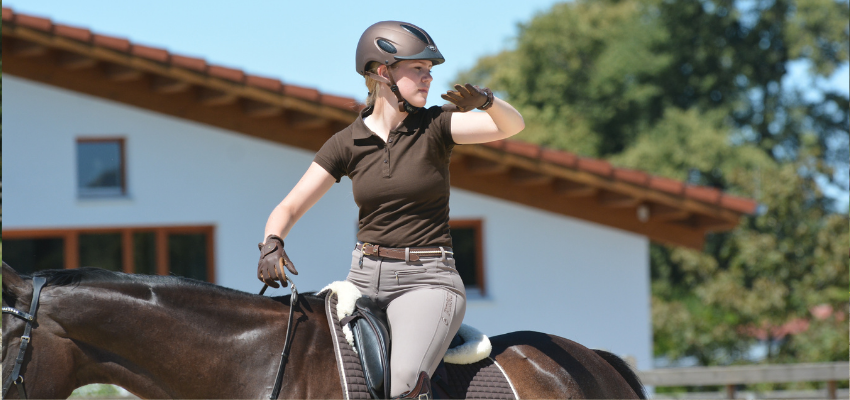
Loosen the pelvis, stabilize the chest
This exercise helps train mobility in the pelvis while keeping the core stable. Start by riding with one hand. Stretch your free arm up so that your fingertips point to the ceiling or the sky. As a result, the movement sequence between the chest and pelvis becomes somewhat more separate from each other. The chest remains stable, the pelvis can work more relaxed. Practice in walk, trot, and canter when safe.
Sit independently of the hand
Start by trotting lightly and place the crop across the reins, balancing it on top of each fist so that it is now horizontal in front of you (you can put your thumbs on top so that it cannot slip away so quickly). Is it difficult? Or not? You can see very well whether your hands are already completely independent of the posting movement.
Encourage loose knees
Go on a circle at the trot. During one half-circle length, trot normally, but during the other half-circle length, balance in a light seat. Continue to alternate. Concentrate on your knees: how loose are the joints when you trot? Due to the constant change in movement, you can observe and control yourself, as well as improve your seat.
Improve self-awareness and mobility
In order to be able to have a good seat, the rider needs permeable joints that absorb the horse’s movements. However, we often do not perceive our body well and therefore do not know exactly whether a joint is loose and permeable or not. This exercise by Marlies Fischer-Zillinger trains self-awareness and improves mobility: First, consciously press your heels down. It shouldn’t be like that – because even if the “heels low” seems to be fulfilled, the rider blocks all their joints. Then consciously press the heel a little less, so take it a little further up and spring from there, also in the knees and hips. First, test at the walk, then at the trot. Always switch between pressing down firmly and lifting slightly and using the springs!
Practice for your riding seat during everyday life
Here are some exercises for a better rider’s seat that you can do yourself without a horse and during everyday life:
- In the car: Try to consciously keep your left leg up.
- When getting up from a chair: ONLY get up using your thighs – without lifting your upper body! (Sounds easy? Give it a try!)
- When walking up stairs: Tighten your stomach and contract your pelvic floor muscles.
- When you have a spare moment: Kneel down on the floor, shins flat on the floor, buttocks on the lower legs, and pull yourself up only over the thighs with tense abdominal muscles. So that the lower legs are still on the floor, but the rest of the body is straightened up. (Ouch!)
Find more helpful exercises and tips to improve your seat on our website. Have fun practicing your riding seat!