What is Cavaletti?
Cavaletti is 8-10 foot long poles that are attached to mostly cross-shaped stands on both sides. This cross shape allows the height of the bars to vary depending on the rotation. In most cases, the bar is at its lowest point. The Cavaletti is approximately 10 inches in middle height and approximately 15 inches in highest height.

Why is Cavaletti training important for your horse?
Lunging over poles and Cavaletti is particularly valuable for your horse from a gymnastic point of view - the horse is encouraged to step down more eagerly, pushing and carrying power is encouraged, as well as surefootedness and coordination.
Working with poles and Cavaletti not only gymnasticizes and strengthens, but it is also fun - and not just for the rider! The horse experiences variety in training is encouraged to think for itself and faces new challenges. Most horses are happy about these tasks and begin to step off more actively.
Do you need another reason to try Cavaletti training? Here’s another one: not all of us have a horse with spectacular basic gaits. Instead, we can help them by training with poles and Cavaletti to make the basic gaits have more cadence, i.e. with a more pronounced suspension phase.
How much Cavaletti training is good for your horse?
A certain regularity is required in order to achieve optimal training success. If you only incorporate Cavaletti work into your training every three or four weeks, you risk muscle soreness in your horse. The positive changes then remain small.
Training with poles and Cavaletti once a week is a good frequency to see results without overwhelming your horse. Of course, the individual characteristics of each horse play a role in your decision on how often to integrate Cavaletti into your training. There are horses who really enjoy it, whereas others have to concentrate very hard and are quickly overwhelmed.
With the latter, you should make sure that the exercises with the Cavaletti work do not last too long. After all, your horse should not lose motivation! The following applies to all horses when cantering over ground poles: The physical exertion of jumping over several poles in a row is high, so don't ask too often. It is better to incorporate short exercises or pole work into your training two or three times a week instead of doing the exercise for half an hour in one day!
What are the correct distances?
Ground poles and Cavaletti should be between 2.5 - 3 feet apart while walking, for the average horse.
Trot poles should be approximately 4 feet apart. Again, this is for the average horse; it’s important that you do the measurement based on your horse’s trot step. If you want to work in a canter, you can use distances of 9-11 feet apart.
Reminder: Depending on the type of horse, this information must be adjusted. A good way to get to know the distance between your horse’s steps is to lunge them on a freshly raked footing. Have them walk at their natural pace, and then measure the distance between their footsteps. Do the same for the trot, and the same for the canter; stopping each time to rake between gaits so the footsteps don’t get confused.
The most important basic rules for Cavaletti work
There are a few basic rules for riding and training with Cavaletti which include:
Safe material and a suitable environment
Splinter-free training material is important to avoid injury. Be sure to check your equipment regularly - broken or splintering poles have the potential for injury and should definitely be replaced. The footing is just as important: You should definitely avoid hard ground conditions or ground with hollows or holes.
The right height
It is also important to consider your own training goal! Would you like your horse to trot with big movements in a stretched position? Then choose a larger trot pole distance. If your goal is to collect steps with more flexion of the hamstrings in the working position, then the distances need to be shorter. A higher bar height encourages the horse to flex the joints more. For the goal of long movements, they should be set up with shorter heights.
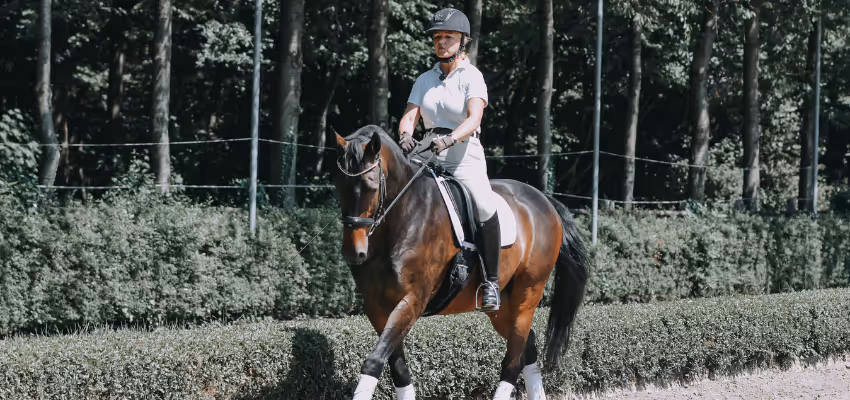
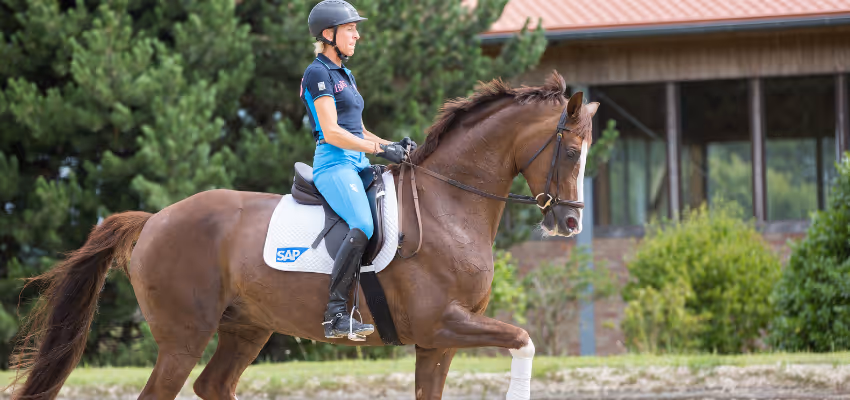
Dressage riding via Cavaletti
Some riders think about jumping when riding over Cavaletti and throw all their dressage knowledge overboard. This is a fundamental mistake that should not happen. The aim here must also be a relaxed horse working on the aids, swinging over its back, and stepping under the center of gravity with its hind leg. This is the only way to improve your horse's gymnastics and gaits with Cavaletti work. Find more helpful exercises and tips to enhance your riding skills with expert guidance on our website.
The correct assessment of the training
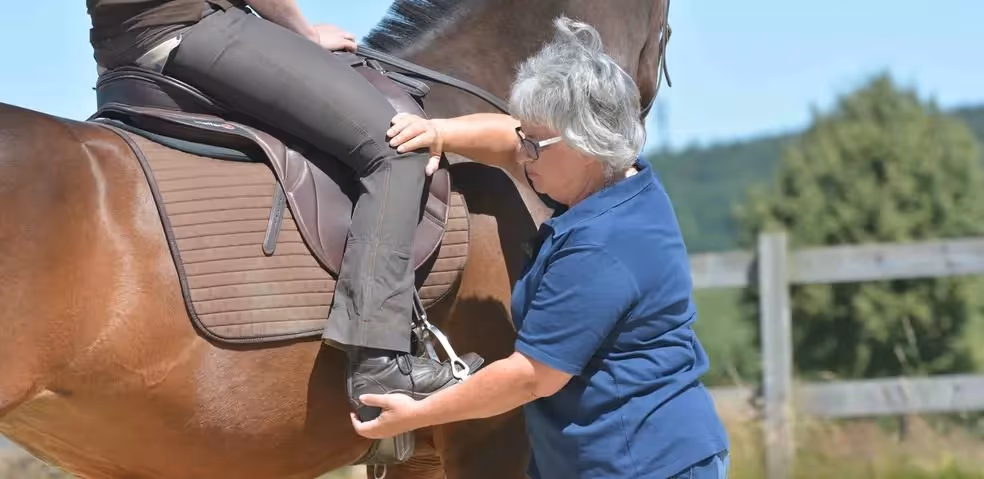
As always, don't overwhelm your horse. But first, you have to be able to assess the level of training your horse is currently at and what you can expect from them. If you are not sure, ask your riding instructor for an assessment.
A horse first has to get used to the Cavaletti. Therefore, always start with a few ground poles and only increase when you have the feeling that your horse is safe and relaxed about it. Even with advanced horses, the exercise structure should always be designed from easy to difficult.

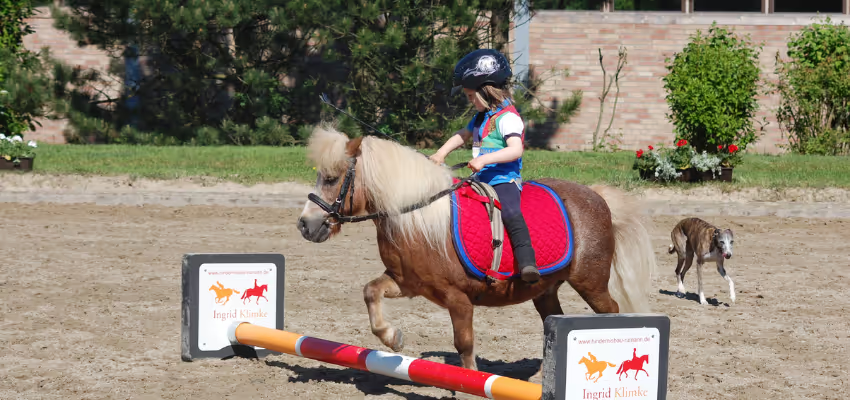
How do you start as a newcomer?
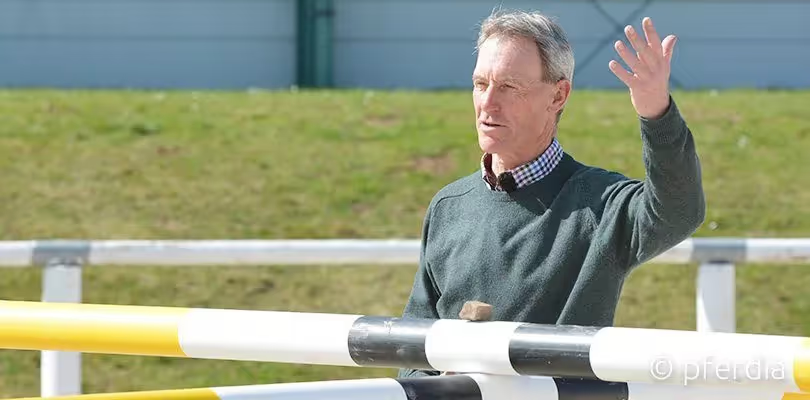
Dressage trainer Claudia Butry likes to introduce young horses to Cavaletti training by initially only using poles and blocks. She puts one side of a pole on a block, and the other side of the pole stays on the floor. The side that is raised alternates so that one bar is always alternately set high and low. "I do that so the horses have to step off differently," she explains.
She starts at the walk with two poles if the horses aren't familiar with this and adds more poles after a while. In this way, the horses only learn to look carefully and coordinate themselves at a walk. Only then does the actual Cavaletti training start.
Pay attention
To get your horse used to this type of training, you can first let it walk over a Cavaletti. Especially with very young and inexperienced horses, a lead horse can help it stay calm and give your horse the security of following a leader. It is important that your horse walks calmly over the poles and that you support it with your aids. Don't just throw away the reins, but also don't restrict your horse's movement by using the wrong rein aids.
Cavaletti exercises for horse and rider
Ready to try working with Cavaletti? Here are some great exercises to get started!
Cavaletti on curved lines for more hindquarter activity and suppleness
If you have an experienced horse, then working on curved lines is highly recommended. Your horse will be given even more gymnasticization by improving its longitudinal bend and encouragement to step under with the inside hind leg during the Cavaletti exercises.
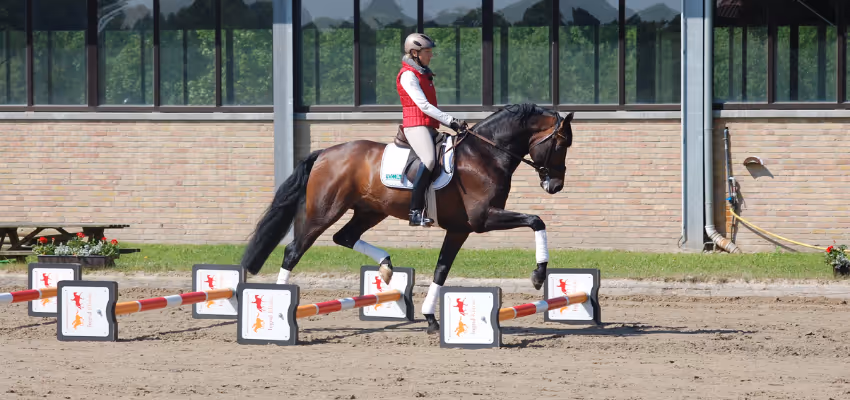
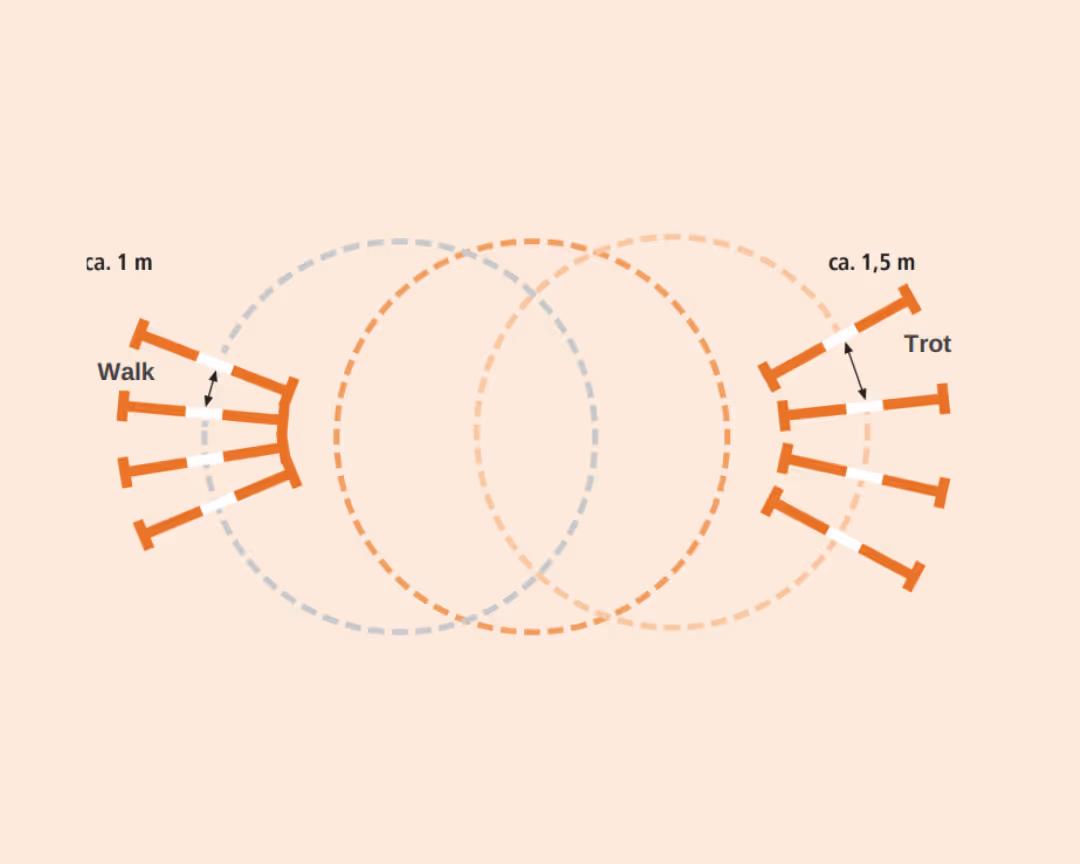
An exercise to replicate: Divide the ring into two circles, leaving some space between them if the arena allows. On the outside of the left circle, you place four poles in a curved line. The distance between the center of the poles is 2.5 - 3 feet for the average horse. On the right circle, place four trot poles on the outside of the curved line, 4 - 4.5 feet apart. This allows you to vary between the circles and improve suppleness at the walk and trot.
In the middle, you can create a circle without any poles, for breaks.
Another option: ride a big figure-eight. At the transition point, you change from the trot to the walk to go over the walk poles. Or the other way around, you trot there in order to ride towards the trot poles.
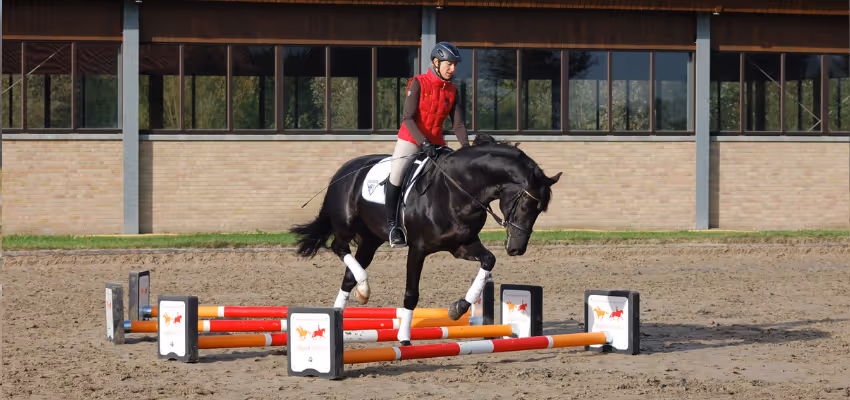
Trot and canter Cavaletti on the figure-eight – The test of permeability
If you master the above two exercises, you can go up a level and integrate canter Cavaletti. In the beginning, you should not use more than two Cavaletti, so as not to overwhelm your horse. Placed in a straight line about 9-10 feet apart, they present a demanding task for your horse. Only when your horse masters the canter Cavaletti safely should you try them on curved lines.
If that goes well, you can venture on to the next exercise. Divide a circle in half and on one side set up four trot Cavaletti with the same measurements as in exercise 2 (if you imagine the circle as the face of a clock, put them at 9 o'clock). On the other side, you build four canter Cavaletti (at 3 o’clock). Mark half of the circle at 12 o’clock and 6 o’clock as transition points. Before the canter Cavaletti you canter at the transition point, after the canter Cavaletti you transition at the next change point to the trot and ride over the trot Cavaletti.
This exercise not only requires routine but also requires your horse to be properly worked through. You must be able to bend and collect it properly, it must respond promptly to your cues, and it must be fully with you. Therefore, the same applies here: do not overdo this exercise – less is more! If you find that the figure-eight is too much, or if your horse backs away or resists, take a step back. Check your dressage basics and, for example, practice the trot or canter Cavaletti separately rather than with the transition combination.
Try different circle lines
With Ingrid Klimke, every horse gets to know many variations of this training. The horses are ridden over them from time to time during training and the poles and Cavaletti are also included in their weekly lunge training. It is best to build the Cavaletti on two circle lines. In this way, the person lunging can switch from a circle on which trot poles are placed to a circle on which walk poles are placed. Especially the transitions between the gaits are very helpful for relaxing and engaging the muscles and the training effect is increased.
Transitions from trot to canter for advanced riders
It is best to practice the transitions between trot and canter on the lunge without poles first. If that goes smoothly, you can add the Cavaletti. For example, ask your horse to canter half a circle after three trot Cavaletti and then transition back to trot again before you’re back to the trot Cavaletti. That's pretty challenging!
If that's really good, you can also build on a circle combination of trot and canter Cavalettis. For example, three trot poles on one side of the circle and first one, then two, then three canter Cavaletti on the opposite side of the circle. This sequence is for really advanced riders!
Good luck and have fun trying out Ingrid Klimke's Cavaletti exercises!
Are you looking for even more inspiration for your cavaletti training? Then visit our website. There you will find many helpful exercises and tips from selected trainers.