If you are ready to take your showjumping to the next level, you need to concentrate on your jumping positions. Using the correct positions during a jump allows you to have better balance, helps your mount perform better and lessens the likelihood that you will get hurt in an accident. You need to master three jumping positions if you want to be a top contender in the ring.
While some instructors have begun suggesting longer stirrup lengths, shortening your stirrup length by two or three holes when you are concentrating on learning the correct jumping positions can help keep your body in proper alignment. Then, when the jumping positions become second nature, you can lengthen them if you want. The shorter your stirrup length, the faster your horse can move, but the harder it is to stay in the correct jumping position without gripping the horse with your knees.
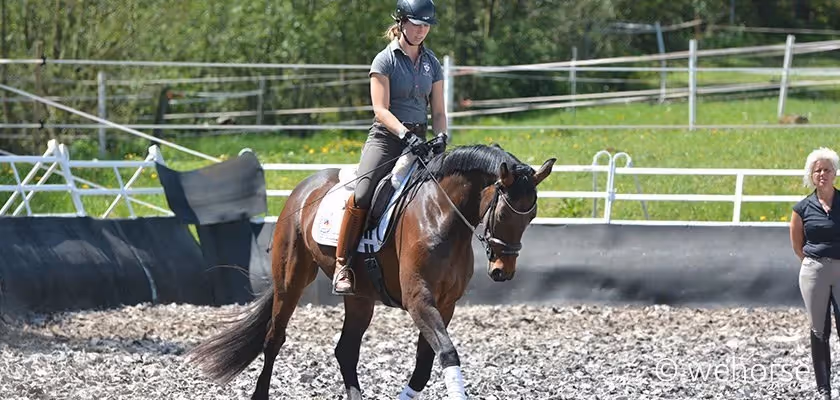
The Two-Point Jumping Position
The first position that you need to master is the two-point jumping position. You may already be doing it naturally because it is one of two positions you use when you post a trot.
In this jumping position, your legs are up on the horse's side, which is why having the shorter stirrups helps you. Your seat should be up out of the saddle as it helps your horse have more flexibility in how they move their body.
If you were to draw an imaginary line between your shoulders and knees, you should see a 20% incline. Keep your shoulders flexible and use your core muscles to lift your seat out of the saddle. As you perfect this riding position, you will find it one of your favorites because your spine's natural spaces absorb the horse’s shock so that you do not feel the bounce.
Your body’s weight should remain in your heels so that you are not gripping the horse with your knees. At the same time, make sure that your heels stay flexible so that you can quickly move with your mount’s movements.
Your hands should be a little in front of the horse’s shoulder when riding in the two-point jumping position. There should be a straight line going from the horse’s bit through your reins, hands and elbows.
Your head should be up and your eyes looking forward. Do not cinch your teeth because you cannot remain flexible if you do.
While many instructors recommend that you practice this jumping position at the walk, in the beginning, it is easier to practice it at a slow trot because the horse’s natural movement will help you stay in position. Ride it for a short while. Then, have a friend video your ride so that you can critique your riding style. Work on the things that you need to improve before moving on to the next jumping position.
During your review, ask yourself these questions to point out common errors seen while riding the two-point jumping position. Did your:
- Seat stay up out of the saddle?
- Weight stay in the stirrups?
- Inner thighs stay against the horse without grasping with your knees or heels?
- Body stay flexible while maintaining a 20% or less incline?
- Hands stay in front of the horse’s shoulders?
- Hands stay soft and in a straight line with the bit?
- Head stay up and your eyes looking forward?
Keep practicing until you can answer each of these questions affirmatively.
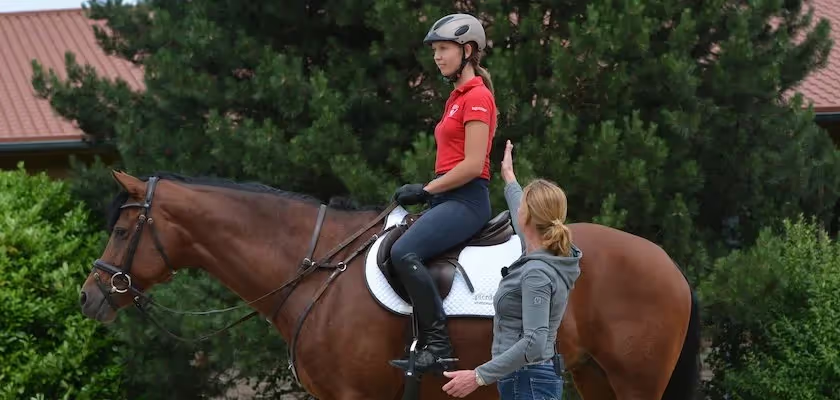
The Three-point Jumping Position
The second position that you need to master is the three-point jumping position. Again, your legs need to be on the horse’s side. This time, however, your seat bones need to be firmly in the saddle. If someone were to draw an imaginary line from your shoulders to your heels, they should be in straight alignment.
Many riders pick up the bad habit of slouching in this jumping position, so think about keeping your body in an elongated line while using your core muscles to stay balanced over the horse. Concentrate on keeping your hip muscles balanced evenly above the saddle.
Once again, when riding this jumping position, be sure that you are not gripping the horse with your knees or your heels as it interferes with the horse's natural movement and gets your body out of alignment.
Your upper arms should hang freely from your shoulders as it allows your elbows to fall beside your body naturally. Keeping your arms flexible is key to being comfortable in this position. Your hands should still be in a straight line with the bit in the horse’s mouth. Turn your thumbs slightly upward. Be sure to keep your hands relaxed.
Your inner thigh should be against the horse so that you can guide your horse through moving them. If you find that your knees want to grip the horse’s sides, turn your thigh out slightly. Making small adjustments can help you and your horse feel more secure.
As with all riding positions, keep your head erect and your eyes looking forward. It can be tough to resist the urge to look down when you are going over a jump, Glancing down can signal to your horse that they are in trouble and pulls them out of position while looking forward signals to your horse that you are aware of what is coming up and have confidence that together you can handle it.
Practice this position for a period. Then, have someone video as you are riding it. Reviewing the footage while asking yourself some questions is a great way to spot ways to improve your three-point jumping position: Did your:
- Seat stay firmly in the saddle?
- Maintain a straight line from your ankles through knees, elbows and shoulders?
- Thighs stay against the horse?
- Shoulders stay square?
- Back stay straight?
- Hands stay in front of the horse’s shoulders and in a straight line with the bit?
- Head stay up and eyes looking forward?
If you find that you failed at these things, then the next time you ride, keep these ideas firmly planted in your mind.
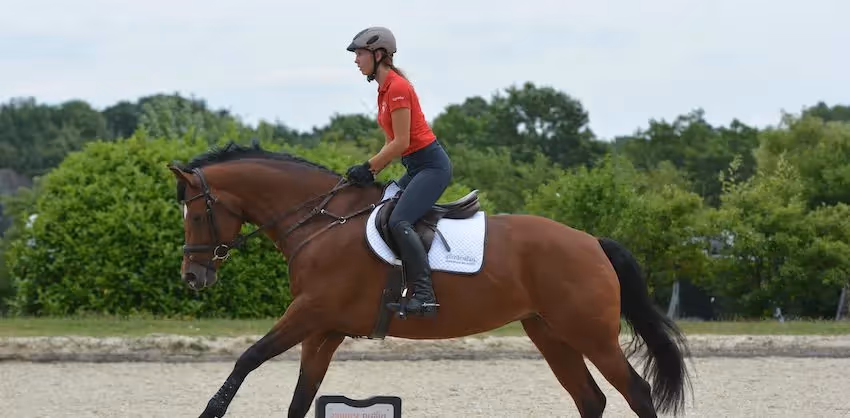
Modified Three-point Jumping Position
The third jumping position that you need to master is the modified three-point jumping position. In this position, your seat is hovered over the saddle, like you were about to use your legs to lift yourself out of it. Lean your body about 20% forward.
Your legs are on either side of the horse, and your weight is in your heels. Ideally, your weight should be distributed evenly in the stirrups. If there is any variance at all, then it should be that your weight is slightly on the stirrup's inner part.
Depending on your mount’s stubbornness and how close the jumps are together, you may need to shorten your reigns slightly. Your thumbs should be pointing up and your head erect. Watch your leg position so that you give your mount useful guidance with your inner thighs without letting your knees gap away from the horse’s sides.
This position should only be used when your horse needs to take shorter strides to prepare for the next jump, so do not do what many beginner riders do and try to stay in this position all the time.
Again, videoing your performance can hold essential clues on how you need to change your style because what you are feeling may not be what is happening. Making small changes usually brings everything into proper alignment, so be careful not to change your style all at once drastically. In particular, when practicing this show jumping position, did your:
- Seat remains hovered over the saddle?
- Body maintains a 20% incline?
- Weight stays in your heels and is evenly distributed?
- Reins stay short and thumbs pointing towards each other?
- Inner thighs stay against the horse?

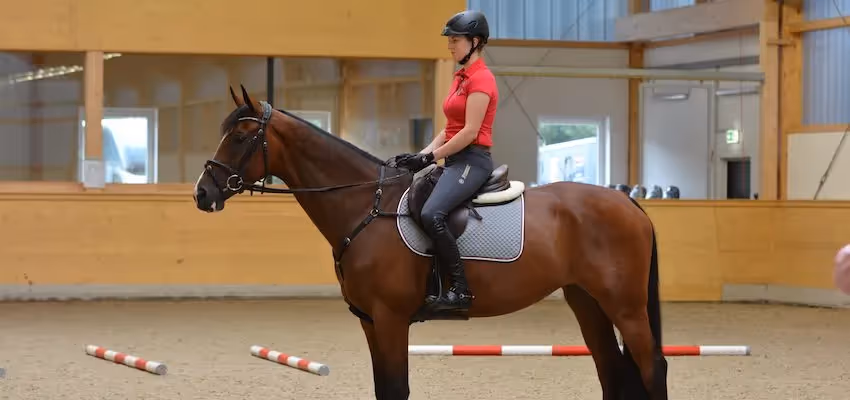
Practice Makes Perfect
You love riding your horse, and practice makes perfect. As you practice, keep your head and eyes up. As you get near the jump, release the pressure with your hands slightly so that your horse has the head freedom necessary to get over the hurdle. Ensure that your body never gets more than 20% from forming a straight line and that you stay upright except when you are going over a jump. Stay flexible by keeping yourself balanced over the saddle.
Learning and practicing the three key jumping positions will improve your odds of winning in the arena. Keep working on your jumping positions and critiquing yourself regularly, and you will soon be on your way to a blue-ribbon performance.