Each and every outcome must be born of some type of beginning. In any process, it is not difficult to determine when steps have been skipped, when stages have been rushed. Building a solid foundation is crucial for further training to go right. Such is true when teaching the rider's aids to young horses.
What Are the Rider’s Aids?
The rider has three aids that connect him to his horse and that serve as means of communication: The leg aids, the weights aids and the rein aids. The leg aids are (in the first line) the means to drive the horse forward. The weight aids are used to slow down or stop a horse and also to indicate in which direction the rider wants to go, he achieves this by shifting his weight in the saddle to the left or right side. The rein aids are there to establish a connection between the bit and the rider’s hand. They are also used to flex and bend the horse. But they are not intended to be used as a steering device. The horse is guided and led primarily by the weight and leg aids. So always be sensitive with the reins, so the horse has the opportunity to learn to respond to fine signals.
Looking for more resources about the rider's aids? We've got you! You can find all the information here.
The Importance of the Rider’s Seat
The correct and balanced seat of the rider is necessary in order to be able to give precise aids. The rider has to sit independently from his hands otherwise he won’t be able to establish an even and soft connection to the horse’s mouth and the horse won’t accept the bit. If the horse makes unpleasant experiences with the rider’s hands, he will learn to go behind or above the bit to escape the rein aids. This of course will make the future training and education much harder.
But it’s not just the hands that are important in a rider’s seat. He needs to have enough stability but also mobility in his body. This might sound like a contradiction but it does make sense: It is important that he can move his hips flexibly and according to the horse’s movements otherwise the horse will be blocked in his back and the movement of the horse won’t be able to swing through his whole body.
The stability in the rider’s body, however, is needed to maintain a positive body tension within the rider/horse unit. They work like a cycle that maintains and self- constitutes its energy but which can also be easily interrupted. Here the rider comes into play because he is responsible to let the horse’s energy through but also refuses to let it out of the cycle. Without the rider’s positive body tension that arises from a straight and stable seat, the energy would just dissolve after a while. That’s why the rider needs mobility and stability in his seat. Mastering the seat takes years of training and experience, so an inexperienced rider should avoid training a young or inexperienced horse himself. The saying “Old rider-young horse and old horse-young rider” definitely has a point.
If you want to know more about how you can achieve a balanced rider's seat, check out our courses for valuable tips and exercises.
How do the aids affect the horse?
The horse learns to understand the rider's aids by habituation and conditioning. Habituation means that the horse gets used to a situation like saddling or riding, mainly through desensitization and repetitions that become a habit eventually. Conditioning means that the horse learns to react in a certain way because he has been taught by positive or negative reinforcement what is expected from him. So the horse’s reaction to a signal is taught by positive and negative reinforcement that is applied after the horse’s response to that signal.
Positive reinforcement would be adding something, like praising or giving the horse a treat. How does that work in practice? For example: In the beginning the horse learns that his reaction to the leg aid is moving forwards because he is getting praised after reacting correctly to this signal. Of course when riding it is a bit difficult to praise the horse everytime after he has responded to the riding aids. This is where negative reinforcement comes into play. Negative reinforcement always means that something is taken away: Here another example to explain how this works: If the rider makes pressure with his left leg and the horse reacts by shifting to the right side, the rider takes the pressure off again. The horse understands that he can make the pressure disappear by reacting to it correctly. He makes a connection between the pressure of the leg and him stepping aside.
But what if the horse doesn’t react to the rider at all because he is so busy with the environment? A young horse very likely will get spooked from time to time: Why punishing the horse when he gets spooked, makes no sense at all? Because the tense and annoyed rider would signal with his body language to the horse that the spooky object is indeed scary which makes everything worse. A horse in pain or fear can’t learn, so punishing the horse doesn’t help with educating him. Instead it is better to keep relaxed and patient and to support the horse step by step to overcome his fear. Being a confident and superior rider is the best way to gain the horse’s trust. If the horse accepts the rider as leader, he will stop to look out for eventual danger himself because he has trust that the leader will protect him. This is part of the habituation.
What to Keep in Mind When Riding a Young Horse
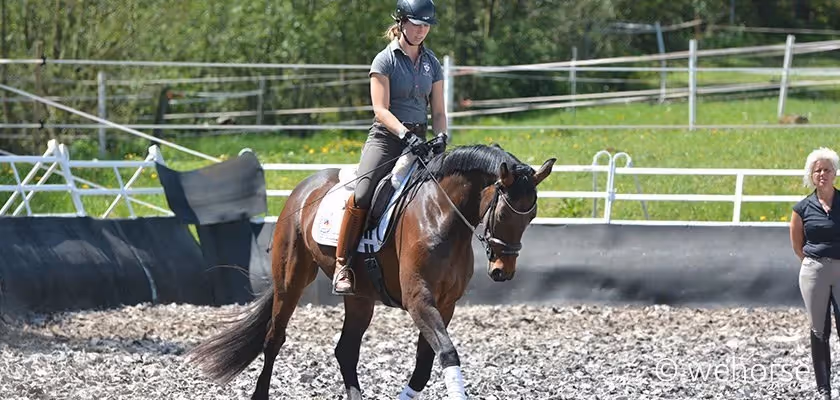
The young horse that has not been under the saddle for a long time yet, has to learn first of all to carry a rider while maintaining its natural rhythm. Many horses need time before they can show their “normal” gaits under the rider. The reason is that they get out of balance with the rider’s weight on top of them which they are not used to. That’s why young horses are being ridden primarily in rising trot and with a light seat in the canter. The light seat releases the horse’s back and makes it easier for the horse to let his movement go from the hindlegs through the back and to the neck without any potential blockage caused by the rider. It is important that the rider doesn’t interfere with the horse’s tempo: “Rhythm isn’t ridden, it is maintained.”
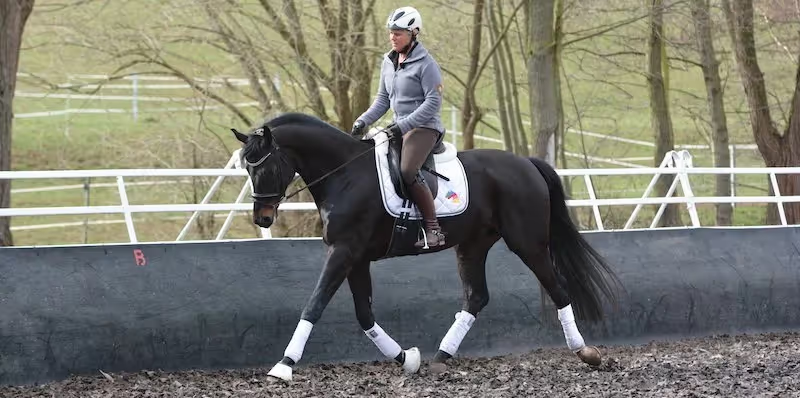
The next thing to keep in mind when riding a young horse; is its neck position. The horse should be able to stretch forward and downwards and shouldn’t be ridden with a raised up neck yet. The goal is a relaxed young horse with loose muscles and an “open” back. The forward- downwards stretch helps the horse to find his way back to his natural movements and to make him loose. Also make sure that you don’t use your riding aids in a contradicting way, it should always be clear to the horse what you want from him: So shortening the reins while driving the horse forward with the leg aids should be avoided in the beginning. Also don't use pulling as a stopping signal, it might take more time for the horse to learn half halts but it will be way more valuable in the long term. As for the leg aids: Don’t use spurs and a whip immediately otherwise the horse will learn to become desensitized to the rider’s leg. But the goal is a horse that reacts willingly to fine aids: Your aids should whisper and not shout.
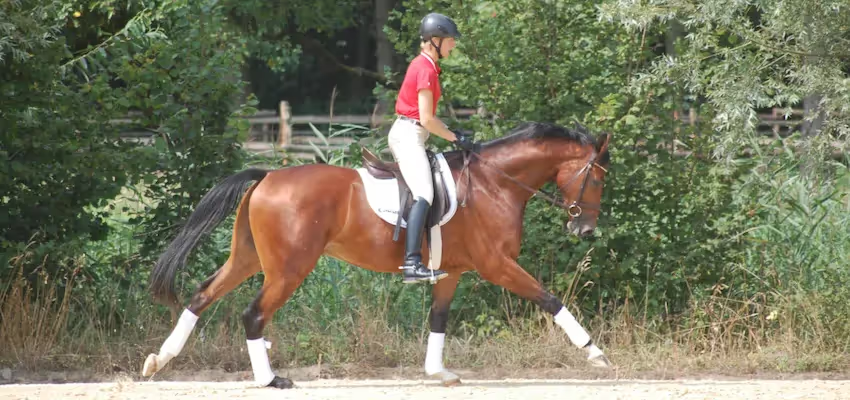
What else to be aware of when riding a young horse? Well, taking into account the horse's body conformation: Horses can grow until the age of seven, young horses' bodies change continuously and generally not evenly. A common picture is the overbuilt young horse with a higher hind end and a lower front end. So keep the growing process of the horse in mind when you are trying to teach your horse to move in balance or straight. They are still learning to use their bodys and keeping their balance with the rider’s weight on top.
Good exercises to introduce the young horse to the aids
In general, it can be said that a three-year-old horse should have three riding sessions in a week, a four-year-old horse should have four riding sessions in a week and a five-year-old horse should have about five riding sessions a week. Work without a rider on the back like lunging and basic groundwork should be also included in the weekly training plan.
- Repeated changes of rein on long curved lines help with the equal gymnastics. The change of flexion should be well prepared through half halts and shouldn't interrupt the flow.
- On the large loops, the rider urges the horse forwards with the inner leg onto the outer controlling rein- this is called the diagonal aids. Exercises that teach the horse to accept the diagonal aids- like circles or changing directions across the diagonal- are much recommended.
- Shortening and yielding the reins alternately, can help the horse to stretch onto the bit and thus to search contact to the rider’s hand. It is important that the yielding rein doesn’t sag but that the horse goes on the bit.
- Transitions from trot to walk with long reins, only using the weight aids and body tension, is a good exercise to relax the horse.
- Extending the strides in trot and canter can help to develop impulsion and more contact to the reins but it is important to make sure that the horse doesn’t lose its rhythm in the extension. Real swing and tense steps are two different things!
If you want more inspiration for your training take a look into our dressage courses, simply click here.

What comes next?
If the horse has regained his balance and rhythm under the saddle and responds to the aids- a good foundation has been built. The next step is to keep the young horse motivated by offering variety in training.
Introducing variety in training and exploring new situations makes the horse more experienced and confident. Hacking out in the countryside makes the horse “bulletproof” because he gets used to the environment and potentially spooky objects and situations.
Including ground poles, cavaletti and small jumps in the training are also very much recommended. Cavaletti training will help the horse to gain more control over its body and it also helps the young horse to build up more muscles in the back and hindquarters. This has a positive effect on the horse’s strength and stamina which are improved in the process. Small jumps can support the horse with his rhythm, balance and impulsion. At the same time, the horse shouldn’t be overwhelmed with new exercises and situations. Time and patience are the keywords when training a young horse.
So in conclusion: Take your time, it's a learning process, the better the basis is taught the easier further training will go. Don't expect everything to work the first time and don't get disappointed if one thing works one day and not the next. And keep in mind to always praise your horse!